
Bathrooms
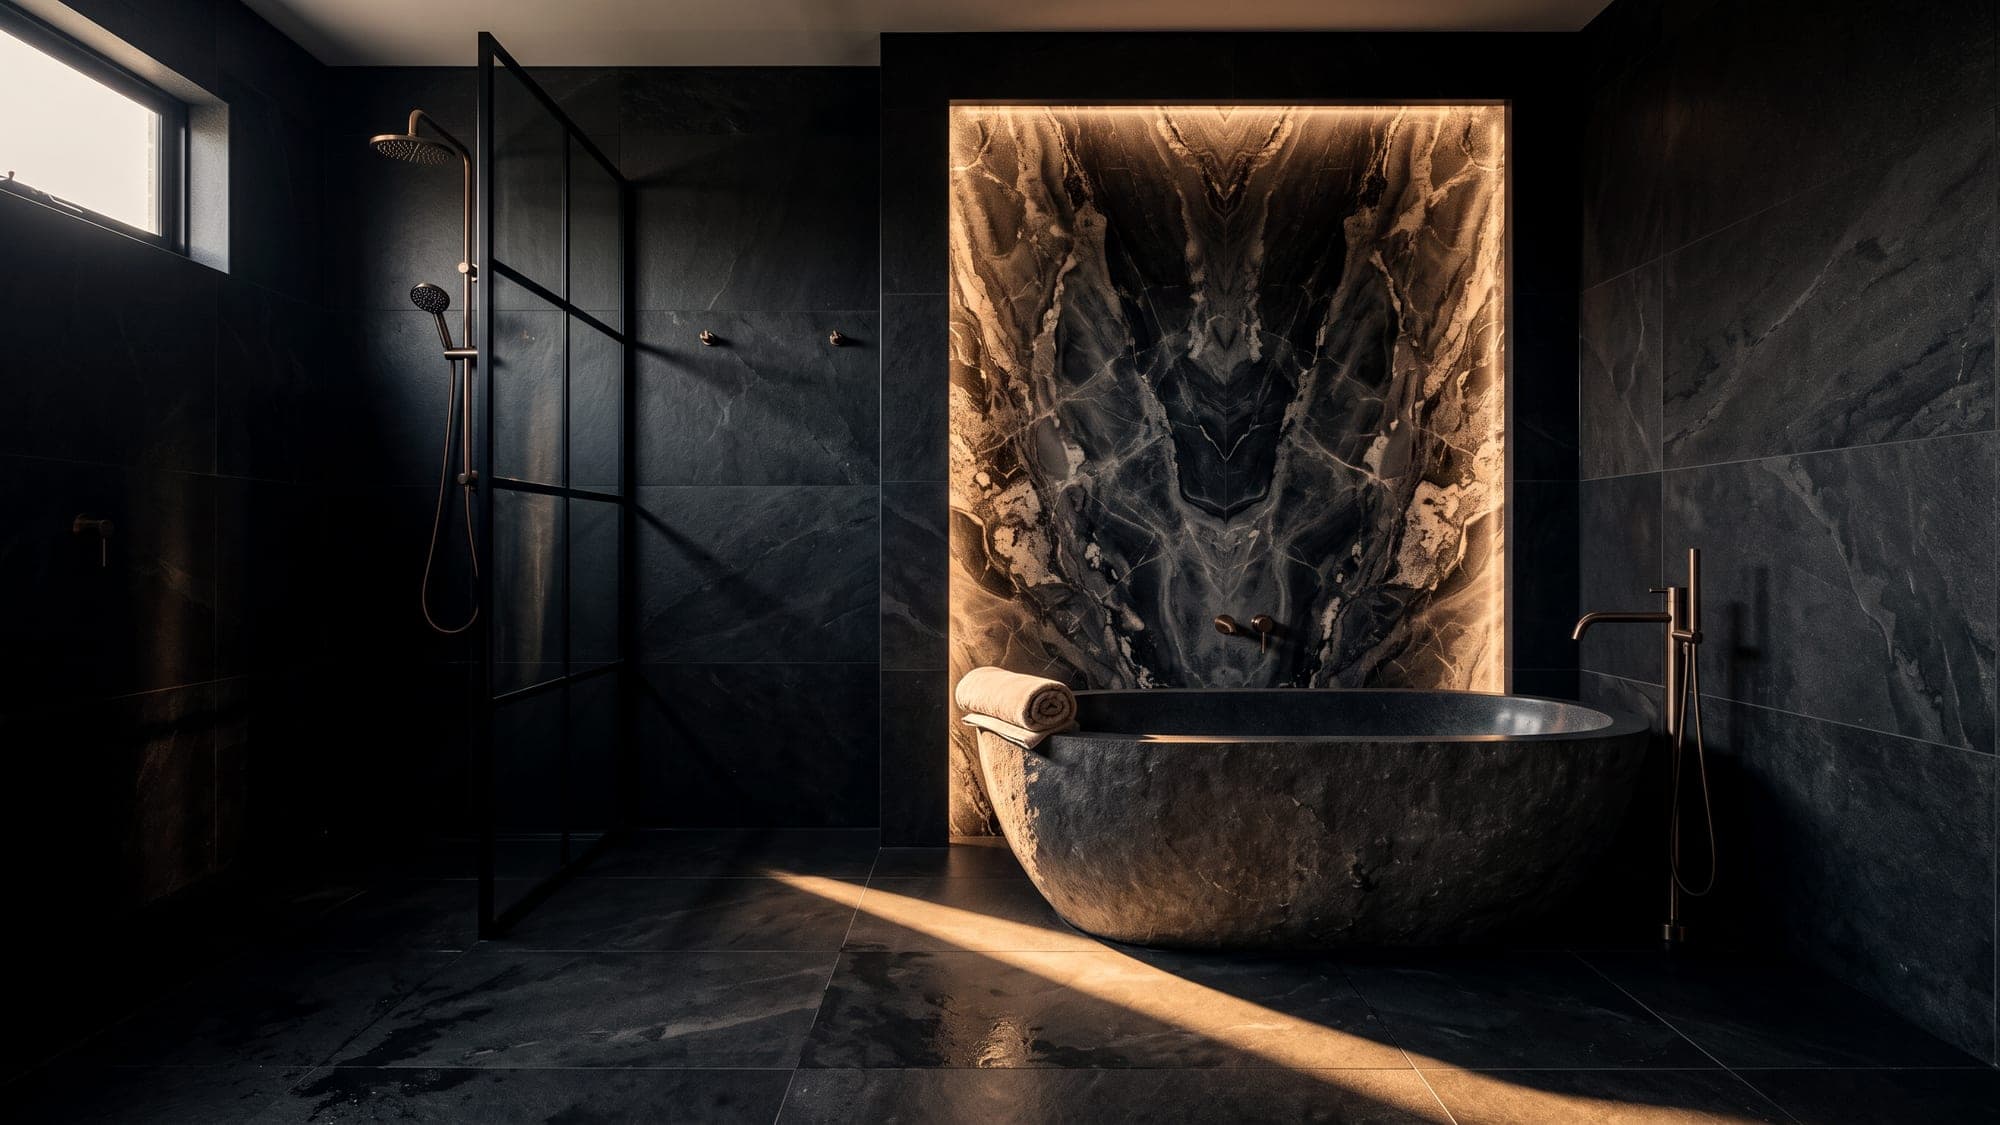
The hardest room in the house to get right.
Complete bathroom renovations across Western Australia — demolition through to final grout, by one team.
Every surface has to shed water.
A bathroom asks more of a trade than any other room. Every junction has to stay sealed, every fall has to run to the waste, and every line is visible from a metre away in good light.
It rewards preparation and punishes shortcuts — usually about two years later, in the corner nobody can reach without removing the vanity.
Six stages, in order.
- 01
Strip-out
The old room comes out and the waste goes with it. Everything behind the surfaces gets looked at while it is open.
- 02
Rectification
Whatever the strip-out finds — failed membranes, unsupported sheeting, out-of-plumb walls — is corrected now, not tiled over.
- 03
Screed
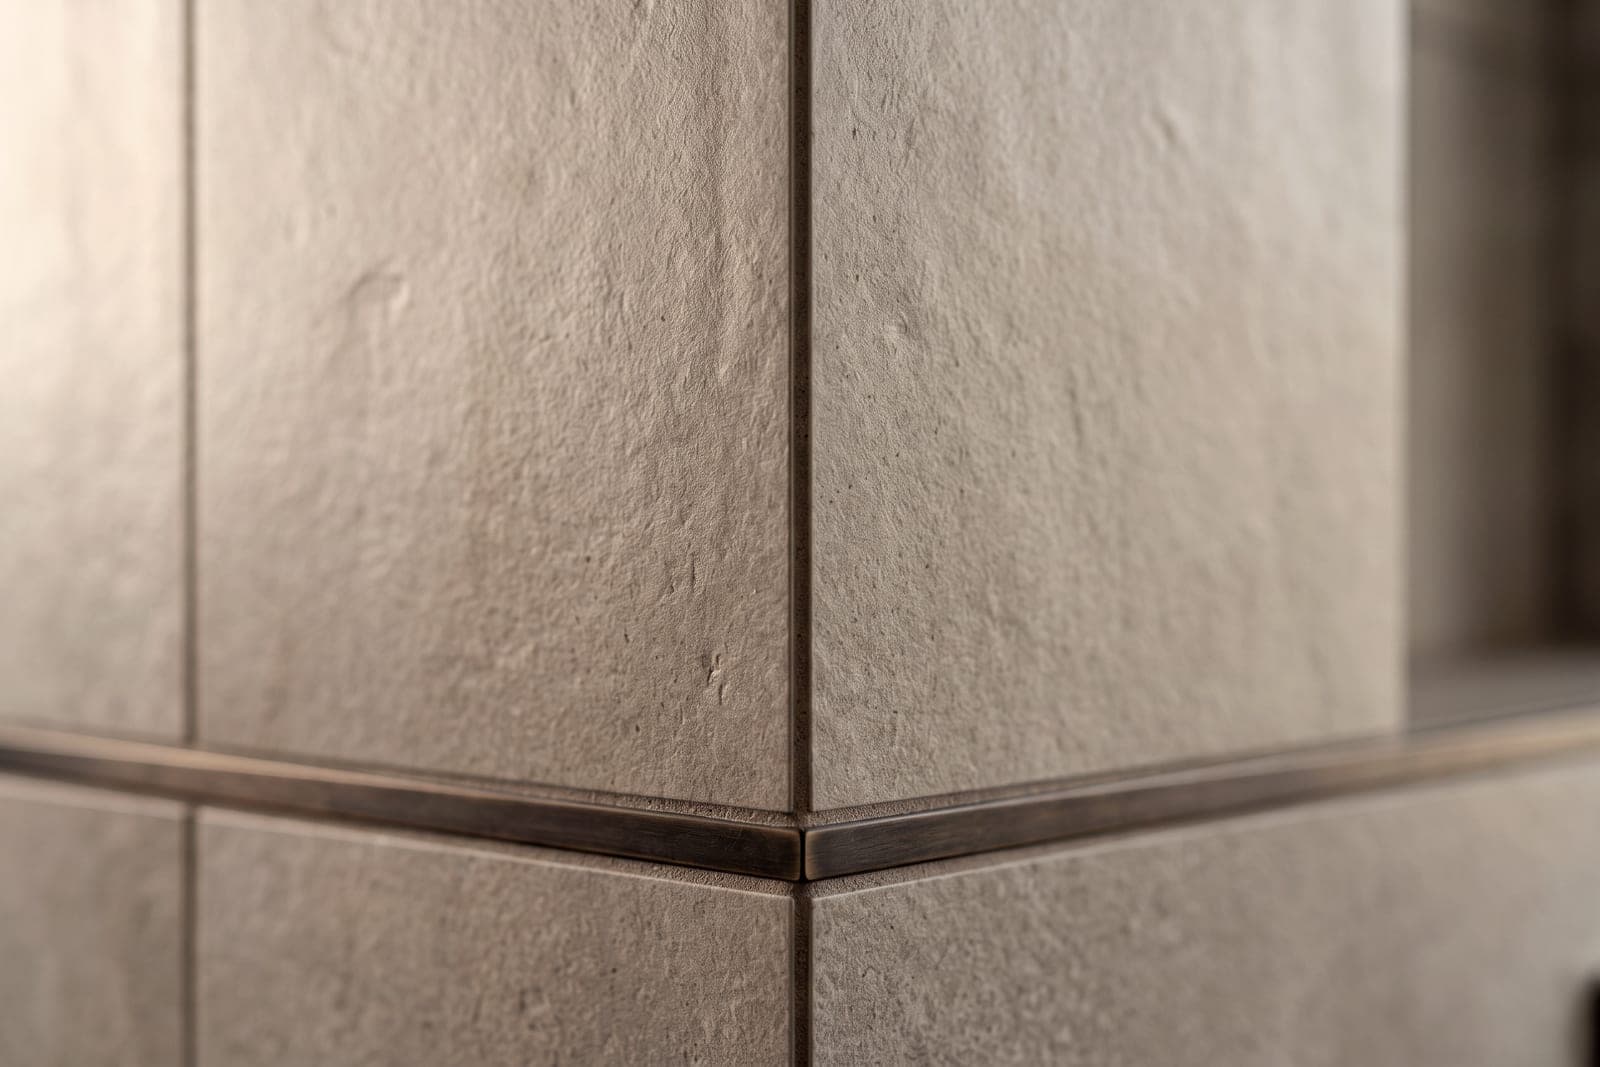
Falls are set from the waste and the finished floor level, then worked to a straight edge so water actually goes where it should.
- 04
Waterproofing
Continuous membrane across the wet area, reinforced at junctions, sealed at penetrations, and left to cure before anything covers it.
- 05
Tiling
Set out first: full tiles where they matter, cuts balanced, joints lined through, niches and corners resolved on paper before they are cut.
- 06
Finishing
Grout packed and cleaned, silicone where the surface needs to move, and a room handed back that is ready to use.
From waterproofed to finished.
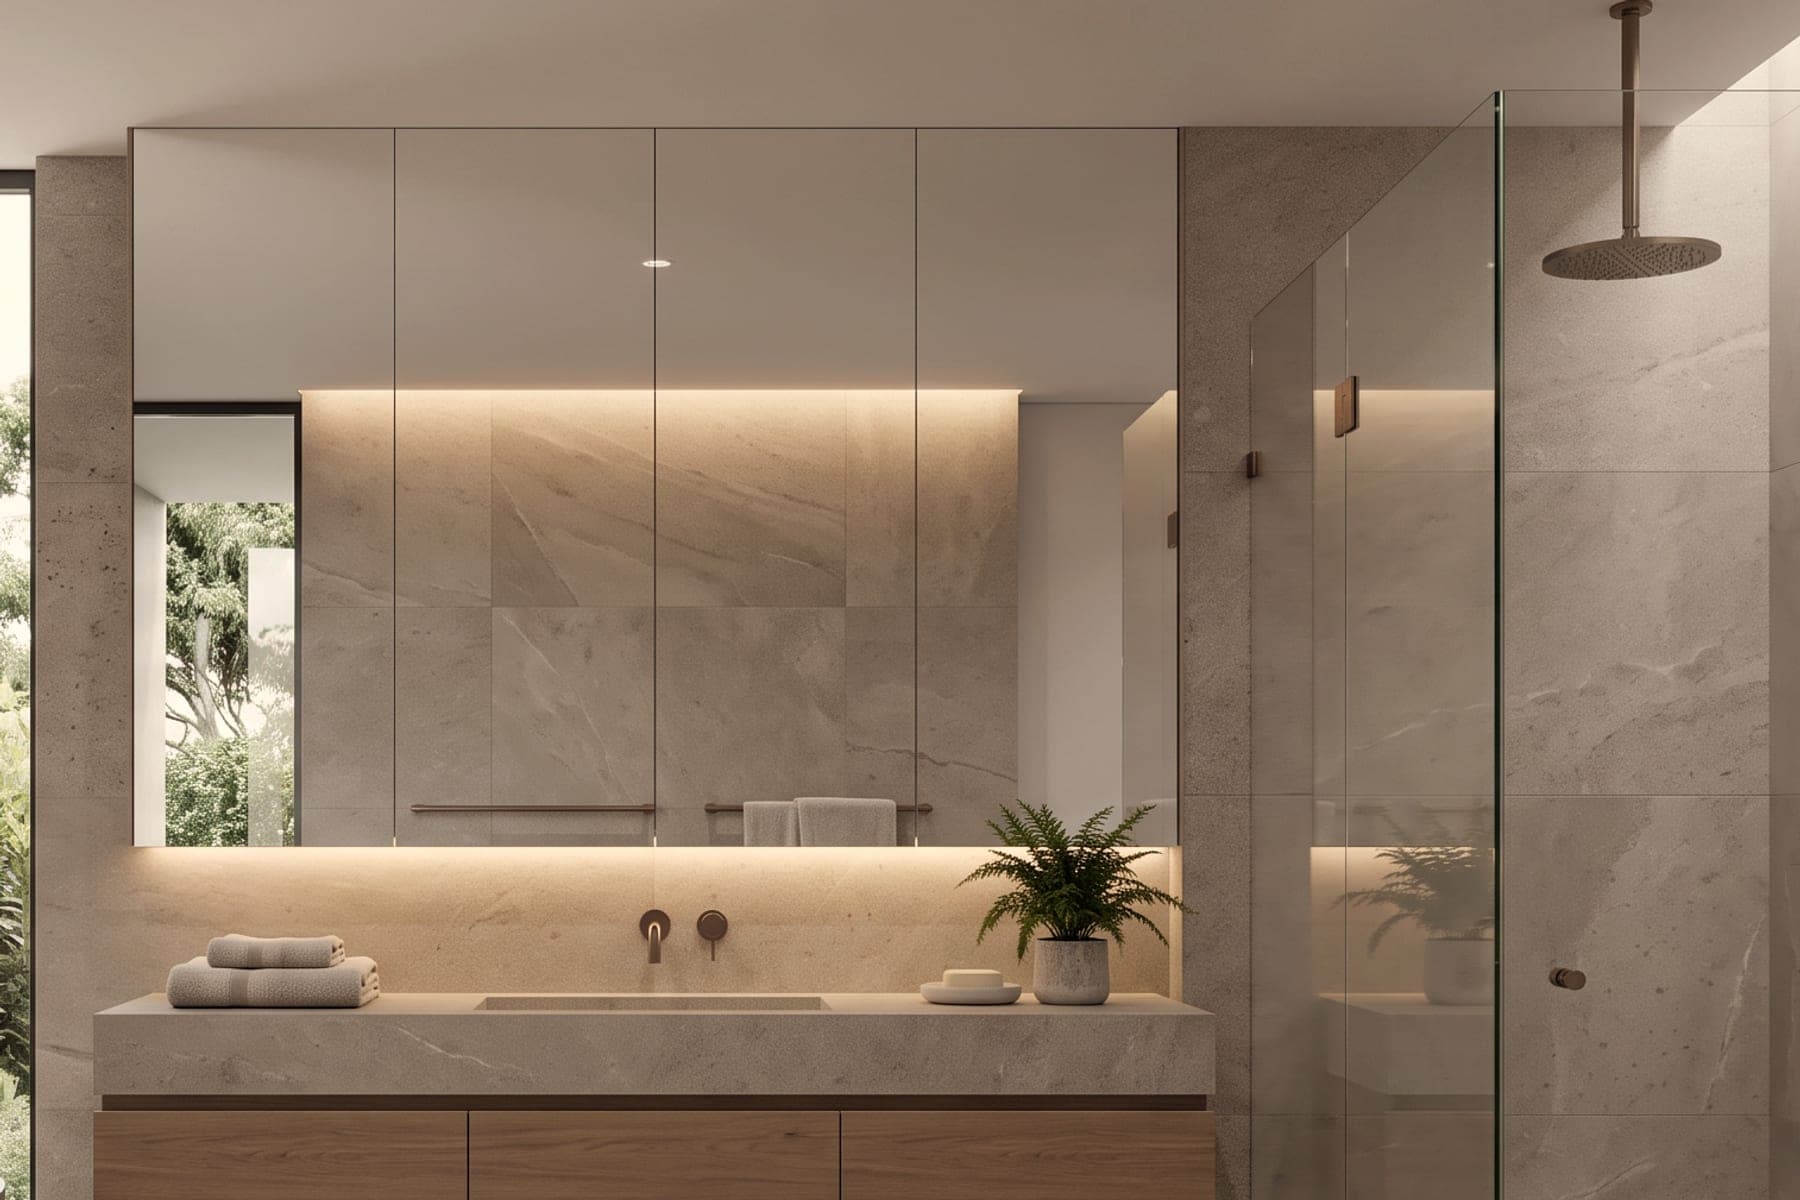
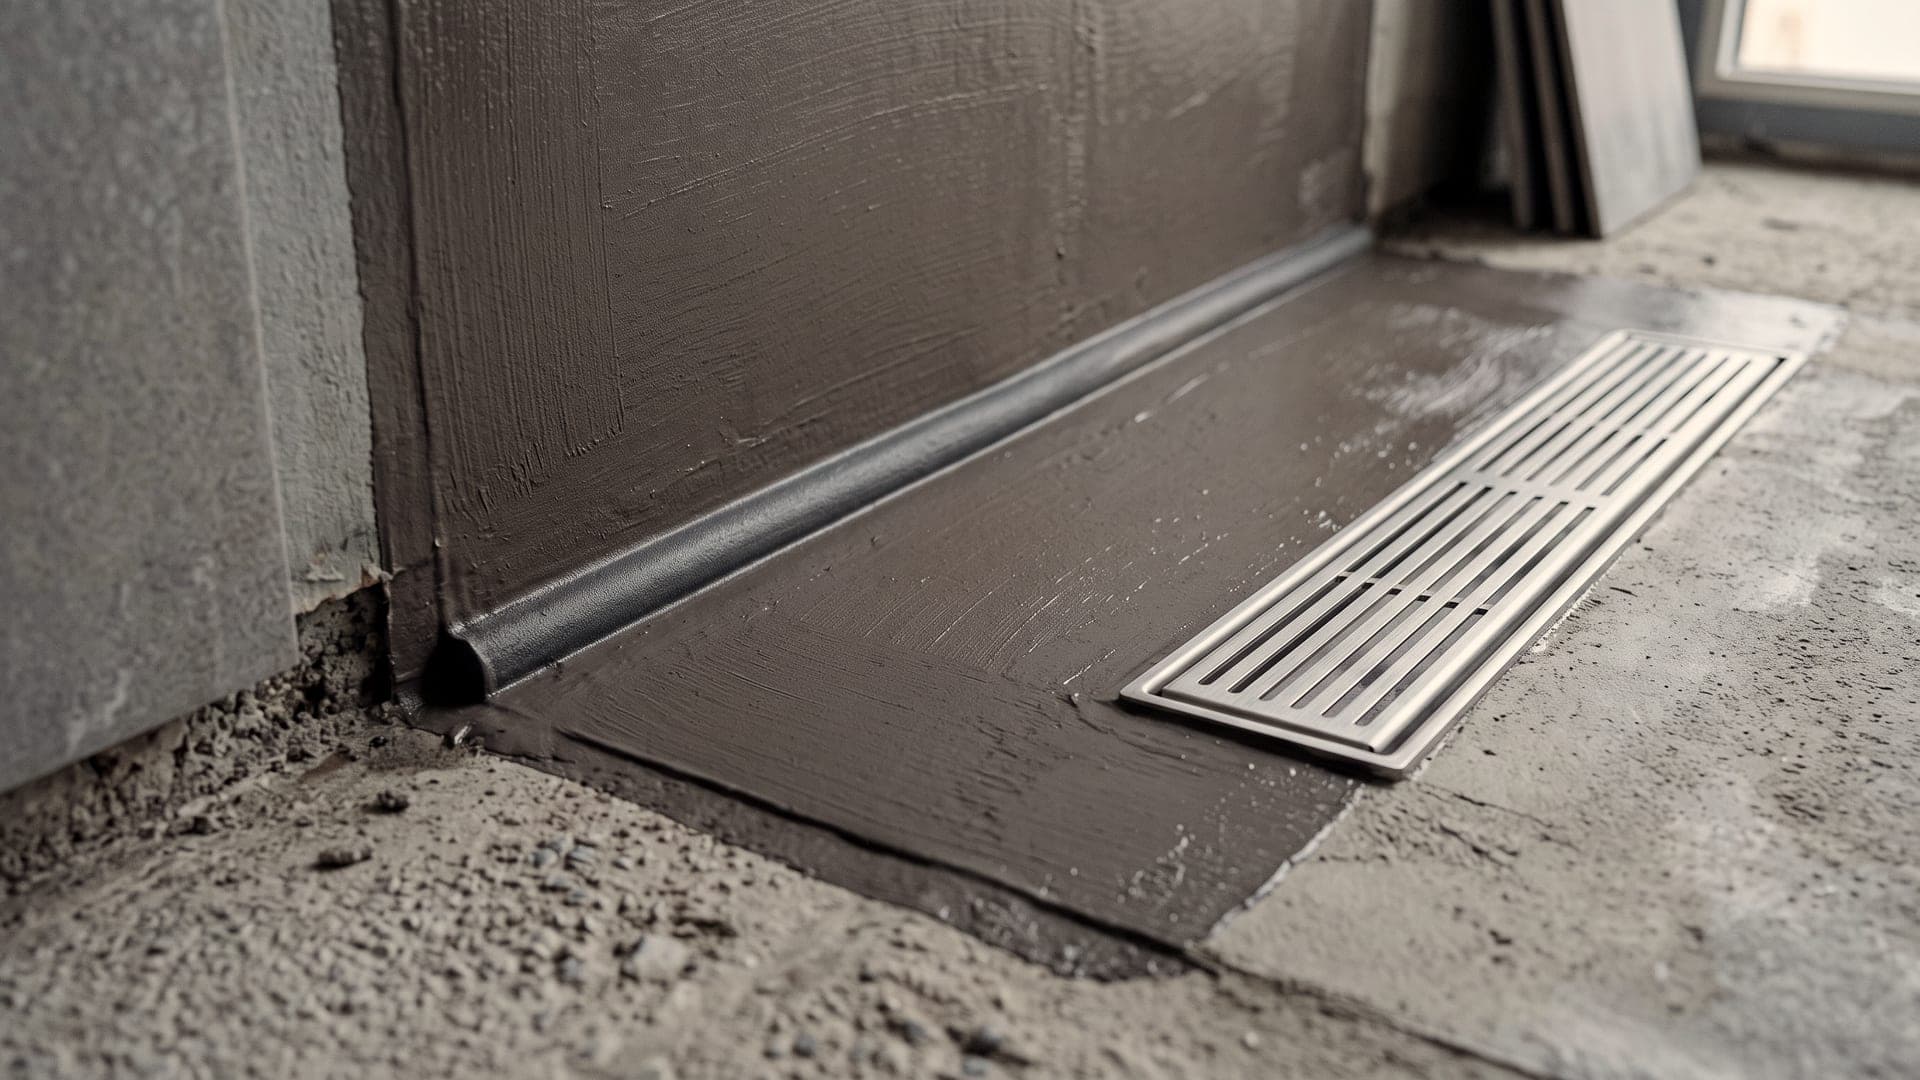
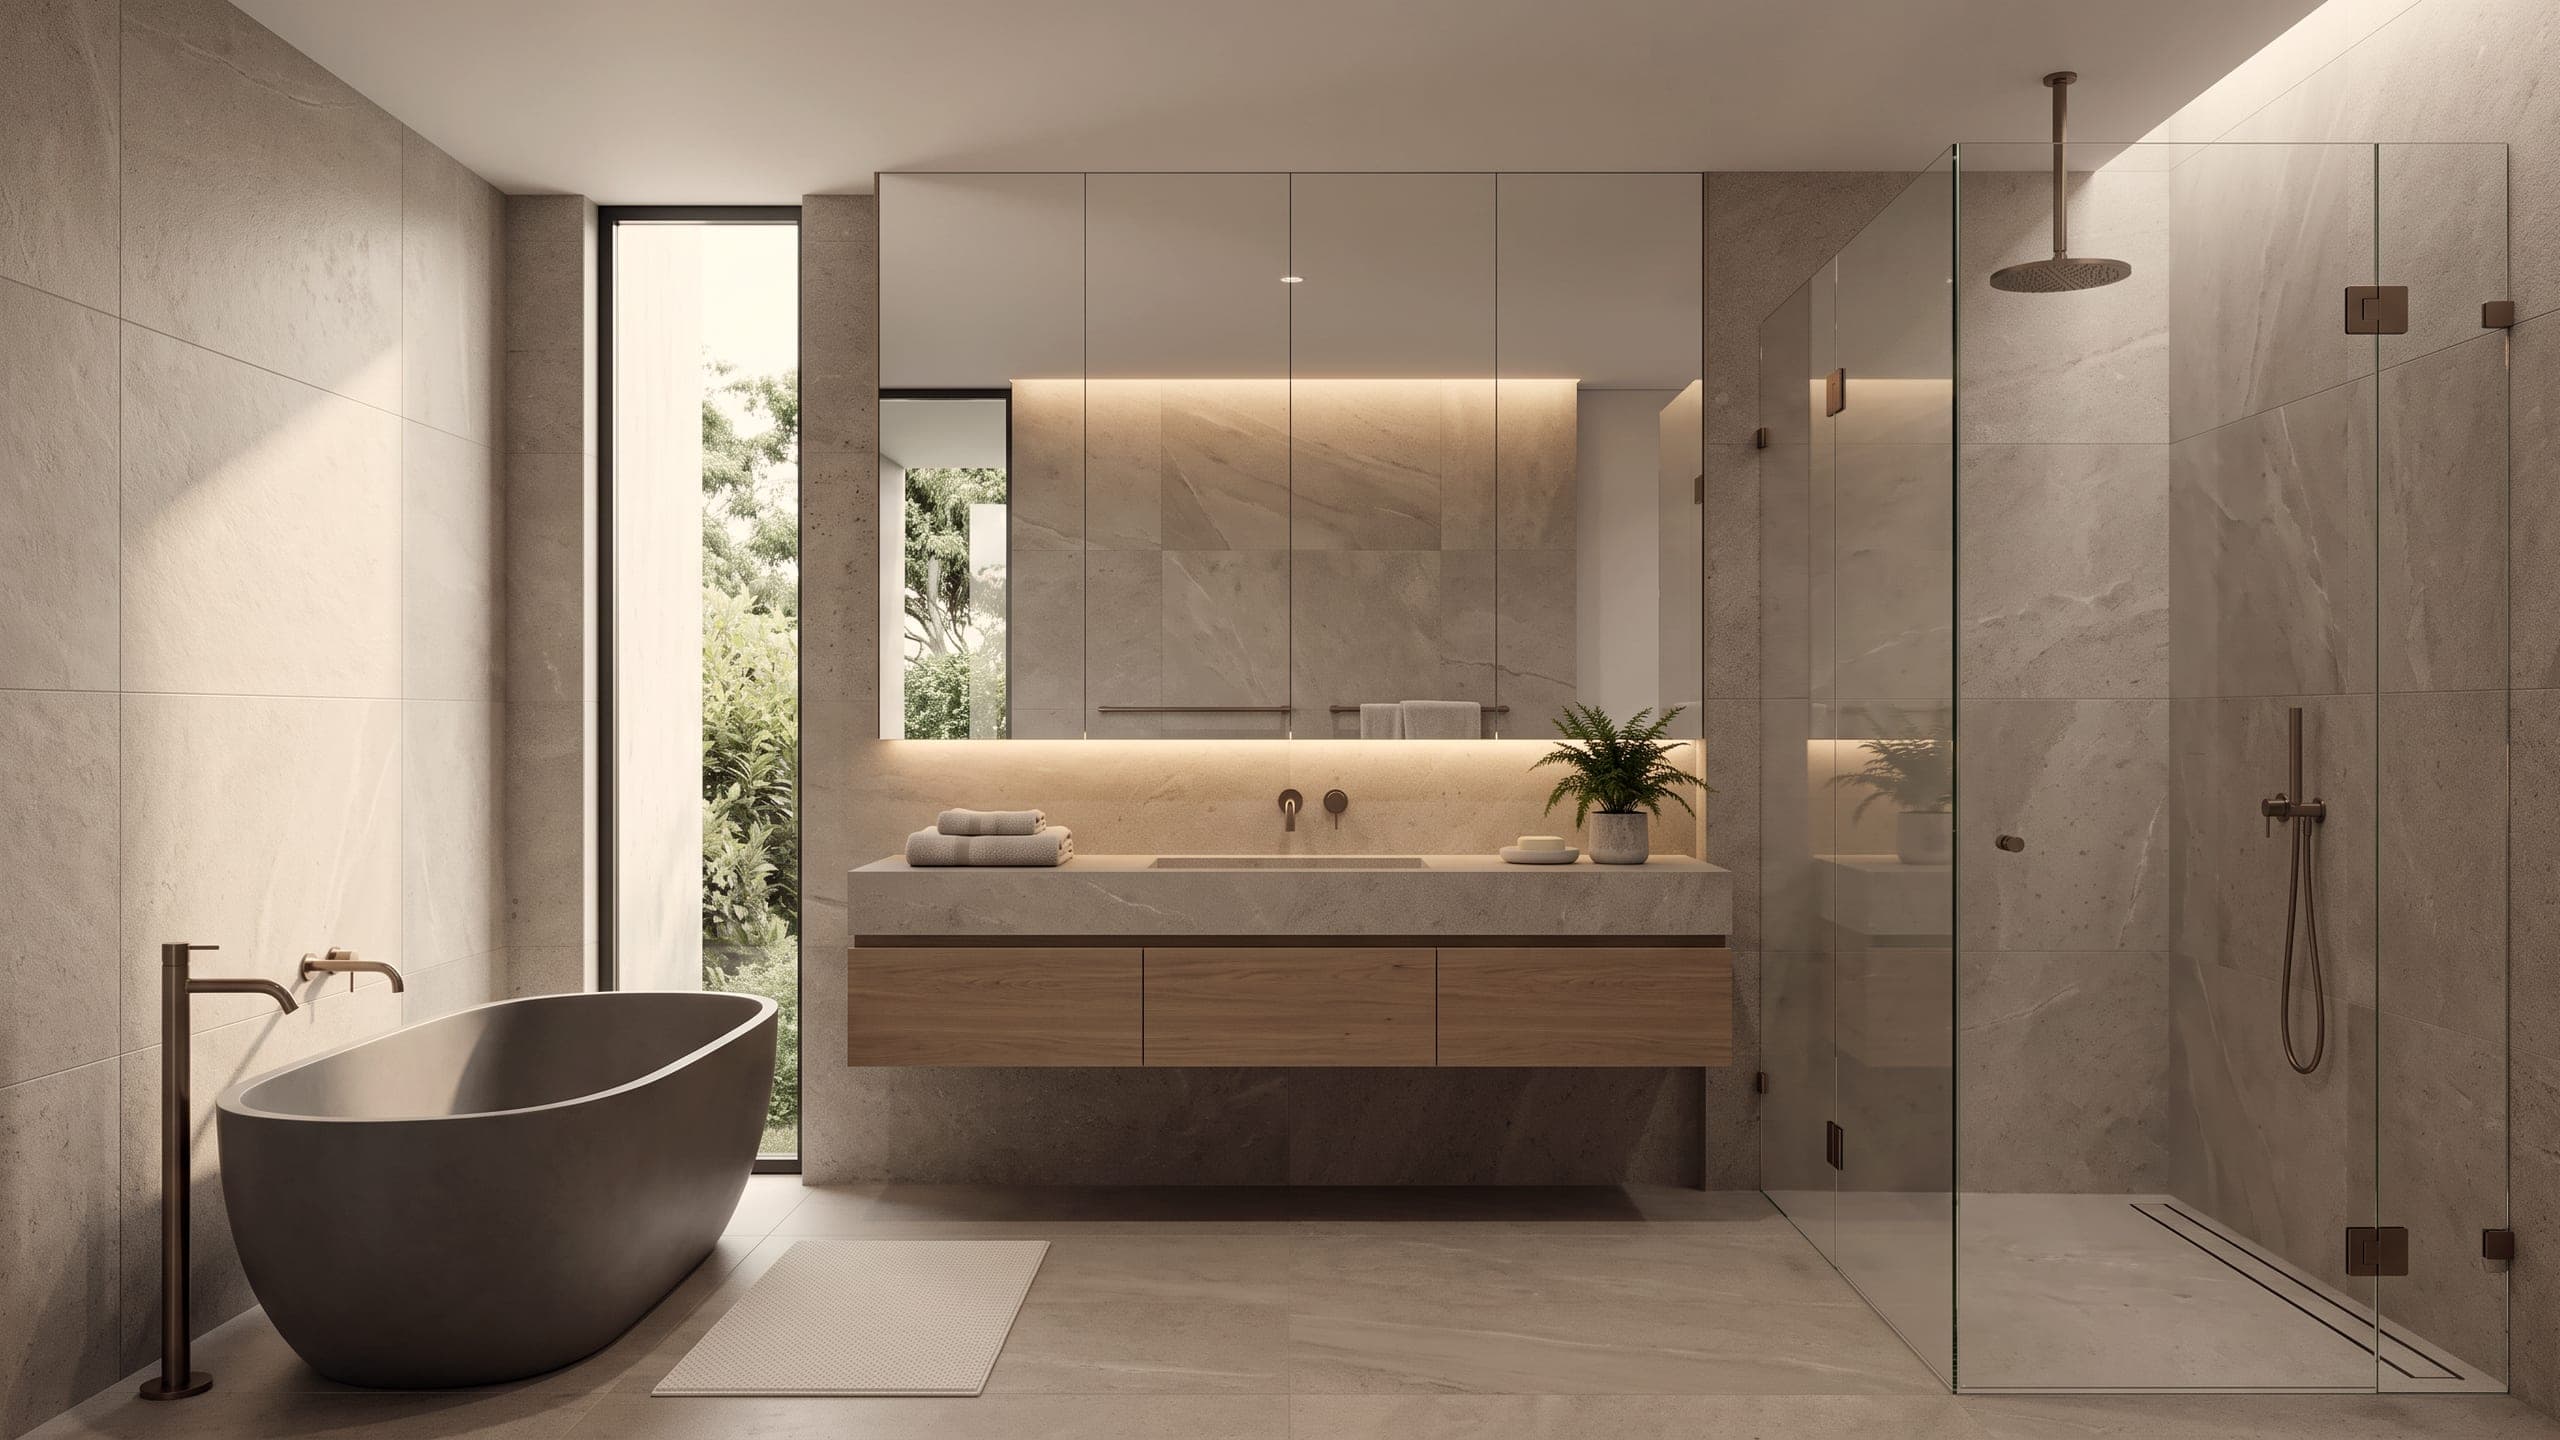
Try it on the room.
Pick a surface, then a finish. It is a quick way to work out what you like before anyone measures anything.
A visual guide only. Finishes are representative swatches, not specific products, and on-screen colour will not match a physical sample.
Before you ask.
- How long does a bathroom renovation take?
- It depends on the size of the room and what the strip-out uncovers. The sequence itself is fixed — strip-out, rectification, screed, waterproofing and its cure time, tiling, then finishing — and the waterproofing cure is not something that can be compressed.
- Do you do the whole bathroom or only the tiling?
- Kabura carries the room from demolition and preparation through to the final grout and silicone, including screeding and wet-area waterproofing.
- Can you work with tiles I have already chosen?
- Yes. Tell us the tile, the format and the finish and the set-out is planned around what you have selected.
- What happens if you find a problem behind the old tiles?
- We tell you what we found and what it will take to fix before we go any further. Covering it back up is not a repair.
Bathroom quote
Send us your bathroom.
Photos of the room as it stands, rough dimensions and when you'd like it done. That's enough for us to come back with something considered.